Showing posts with label dessert. Show all posts

August 14, 2013

The Cherpumple

I can't resist a baking challenge. That's why I loved my time in The Daring Bakers a few years ago. Now, I don't have time for TDB, but I still love to challenge myself in the kitchen on occasion. A few years ago, someone introduced me to this monstrosity of a cake, the Turducken of desserts - the Cherpumple. So named for its CHerry-PUMPkin-apPLE pies baked inside of various cakes, all layered together, it's a huge and obscene dessert. 

Of course, I had to bake it.

A few months ago, we got together with a group of friends for dinner, and I volunteered (as always) to make dessert. Alex teased me about having promised a Cherpumple on various occasions, so I figured this was as good a time as any! I did modify it a little bit, though, as there were only 6 of us at the dinner. I eliminated the pumpkin layer and just made a Cherple. It was MORE than enough! 


There is a lot of information online about baking a Cherpumple, but after doing my research, I decided that this post was the most well-written and informative. It also helped me understand that this was a 2-day undertaking (at least!) and I needed to make sure that there was enough time to do everything. 

I saved myself some stress by doing premade pies and box mix cake, which isn't my favorite, but is cheap and easy. I did make my own cream cheese icing, though. The canned stuff is just too icky. 

Overall, it was tasty...but very rich and a little too much. The flavor of the pie filling blended nicely with the cake, and it was fun to taste everything together. 

If you decide to make a Cherpumple for your next gathering, please take note: 
  • This will easily feed at least 12+ people
  • The finished product is HEAVY
  • You'll need 2 days for baking and assembly
  • Cream cheese icing works best. Anything else is too sweet
  • Tiny slices are more than enough 
I recommend following VittleMonster's guide for easy instructions! Have fun :-)


Baked, cooled and crumb-coated


 Decorated, and ready for transport! 
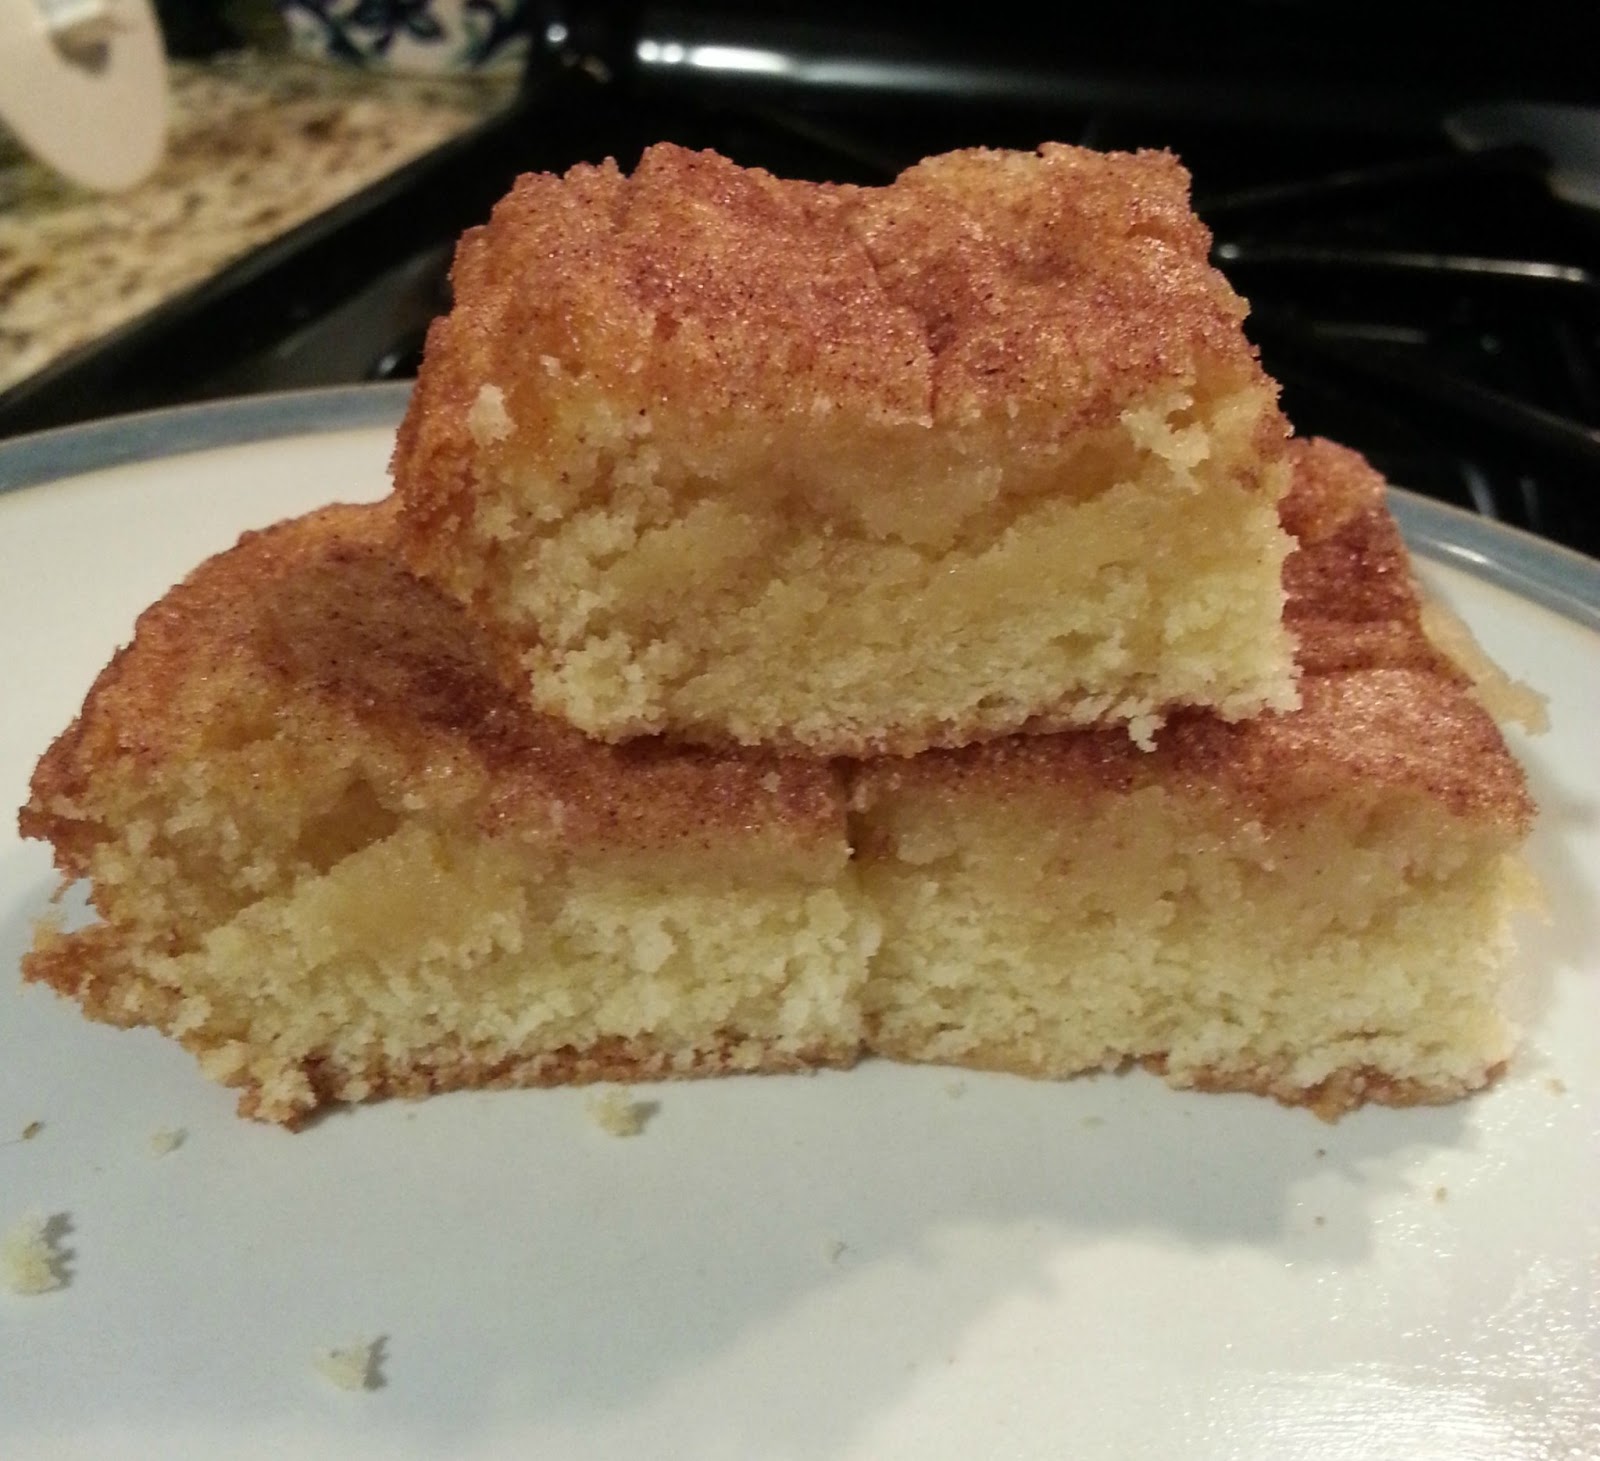


Sliced!  


July 6, 2013

Gooey Cinnamon Squares

 
So you should probably prepare yourself to be bombarded with Smitten Kitchen Cookbook recipes for a while. This was another one that I let Alex choose, and I was secretly glad he did. I really wanted to try these, but managed to talk myself out of it due to the incredibly large amounts of butter, sugar and um...butter. But when he asked for them, I oh-so-kindly relented and then made him my sous-chef.
 
The recipe, according to Smitten Kitchen, is a combination of snickerdoodles and St. Louis gooey butter cake. Now, I've only had gooey butter cake once, and it was a Paula Deen recipe that someone brought to a party. It was TERRIBLE. Too much powdered sugar, too much butter, all just coating your mouth. Ick. So, needless to say, I was a bit hesitant, but I trust SK. I love snickerdoodles and I love butter...so, how could it be bad?
 
Oh. My. It's good. You know you're biting into something that will kill your diet in one fell swoop, but you don't care. I do recommend cutting it into little squares, because it's so rich, but otherwise, it's just perfect as written. When you let it sit for a few hours, or even chill in the fridge, the layers become more defined, and you're left with a buttery cake layer topped with a creamy sweet custard that meld together perfectly. YUM.
 
So it uses a lot of butter. So what? YOLO, right?
 
Gooey Cinnamon Squares
Adapted from Smitten Kitchen Cookbook
 
Ingredients:
Cookie base:
1/2 cup (113 grams) unsalted butter, at room temperature
3/4 cup (150 grams) sugar
1 large egg
1/4 cup (60 ml) whole milk
1 1/2 cup (188 grams) all-purpose flour
1 teaspoon cream of tartar
1/2 teaspoon baking soda
1/4 teaspoon salt
 
Gooey layer:
1/4 cup (60 ml) light corn syrup (or honey. I was worried honey would change the flavor, but it doesn't at all)
1/4 cup (60 ml) whole milk
1 tablespoon vanilla extract
3/4 cup (170 grams) unsalted butter, at room temperature
1 cup (200 grams) sugar
1 large egg
1/4 teaspoon salt
1 cup (125 grams) all-purpose flour
 
Topping:
2 tablespoons sugar
1 1/2 teaspoon ground cinnamon
 
Instructions:
Preheat oven to 350 degrees F and line a 9x13 inch baking pan with parchment paper with a 2-inch overhang.
 
To make the cookie base:
In a large bowl, combine the flour, cream of tartar, baking soda, and salt. In the bowl of a stand mixer fitted with a paddle attachment or a bowl with a hand-held mixer, beat the butter and sugar on medium high speed until pale and creamy.
 
Add the egg, mixing until incorporated. Add the flour mixture in two additions, alternating with the milk, and mix just until combined. Spread batter into the bottom of the prepared baking pan.
 
To make the gooey layer:
In a small bowl, whisk together the corn syrup, milk, and vanilla. In the bowl of a stand mixer fitted with a paddle attachment or a bowl with a hand-held mixer, beat the butter and sugar on medium high speed until pale and creamy.
 
Add the egg, mixing until incorporated, followed by the salt. Add the flour in three additions, alternating with the milk mixture, starting and ending with the flour. Spread the batter evenly over the cookie base in the baking dish.
 
To make the topping:
In a small bowl, combine the sugar and ground cinnamon to make the topping. Sprinkle evenly over the batter. Bake until top is golden brown, 25-30 minutes. The gooey layer won't set until the squares have cooled completely.
 
Let cool, then slice into 2-inch squares. Store in an air-tight container at room temperature.


June 17, 2013

A Sweet Father's Day


Wait...are you going to tell me that not everyone celebrates Father's Day with caramelized bananas and buttery pastry? No? Oh...well then y'all are missing out. 

I think that there might be some unwritten rule about not buying your wife kitchen appliances or cookbooks for major holidays, but Alex knows I am the exception to that rule. He picked up on my heavily dropped hints and gifted me with my very own copy of the Smitten Kitchen Cookbook for Mother's Day, and I'm in love. Serious hard-core food porn love. I want to make EVERYTHING in there, immediately. So in honor of Father's Day, I let him pick his dessert choice. 

RUN, do not walk, straight to your kitchen and make this. It's stupid-easy and knock-your-socks-off delicious. The bananas soak up all the dark caramelized sugar and drip down into the pastry while it bakes in the oven. As Deb of SK says, don't even think about serving this without vanilla ice cream.

Butterscotch Banana Tarte Tatin
Adapted from Smitten Kitchen Cookbook 

Ingredients:All-purpose flour, for work surface
1 sheet frozen puff-pastry dough, thawed in the refrigerator for 1 day
3 tablespoons unsalted butter
1/2 cup packed dark-brown sugar
1/2 teaspoon sea salt flakes
5 large ripe (but not speckled) bananas, peeled, halved lengthwise
1 teaspoon vanilla extract
2 tbsp bourbon or Scotch (optional)
Vanilla ice cream, for serving

Instructions: 
For this recipe, you’ll need a 9-inch heavy skillet. Preheat your oven to 400°F. Roll out your puff pastry on a floured surface to a 9-inch circle, and trim if necessary. Place the pastry between two pieces of wax paper and transfer to the fridge until needed.

Melt the butter in the skillet over medium-high heat. Stir in the sugar, salt, and cinnamon or nutmeg (if using). Cook, stirring frequently to make sure the sugar doesn’t burn, until the mixture turns medium amber, about 3 minutes.

Arrange the bananas in the skillet, overlapping them slightly. Cook, without stirring, for 3 minutes. Drizzle the vanilla and the alcohol of your choice (if using) over the bananas, and cook until most of the liquor has evaporated and the liquid has thickened, about 1-2 minutes. Remove the bananas from heat.

Place the pastry round on top of the bananas, and transfer it to the oven. Bake until the pastry is golden brown and puffed, about 25 minutes. Remove the tarte from the oven, and carefully invert the tart onto a serving plate.


May 17, 2013

Mean Mommy?

This dairy free business is HARD. But, to make it even harder, I have now reduced my gluten intake, too...moving from gluten-lite to gluten-free over the next week. So far, no difference in my skin, but I'm ever hopeful. Sigh.
 
Curing a sweet tooth when you're off dairy and gluten is an exercise in frustration. "Oooooh...cookies! Oh, right..." (incidentally, Oreos do not contain any actual dairy. Gross or awesome? You decide). "Score! Froyo!....DAMMIT."
 
So where else do I turn, but Pinterest. This banana "ice cream" has been out there for a while, but I haven't ever been able to make it because we go through bananas at an alarming rate in this house. The kiddo would happily eat a banana for every meal if we let him, and for this dessert concoction, the bananas have to be just past edible-ripe. But our bananas never make it that far. So...mommy had to be sneaky and hide bananas. Mean? Maybe...but I got some dessert out of it at least. 
 
It's really really good! You can dress it up however you prefer, but I like it with just a bit of peanut butter and a few chocolate chips (non-dairy, of course).


Banana Ice Cream
Ingredients:
1-2 ripe bananas
Optional additions: peanut butter, nuts, chocolate chips
 
Instructions:
Slice bananas and lay them flat on a tray/plate to freeze slightly - just about an hour. Any longer, and they won't blend smoothly.
 
Put sliced frozen bananas into your food processer and blend until smooth. Blend in your optional additions and top with chocolate chips.
 
Keep it all to yourself and enjoy!


May 5, 2013

Who moved my cheese?

Dear Readers, I ask for your strength during this trying time. I've decided to give up dairy for a little while, in order to see if it has any effect on my skin. This decision was not made lightly, as I love ADORE all things dairy, especially cheese, but I need to figure this out. I've suffered from eczema since I was a baby, but in the past 2 years, it's gotten progressively worse. No skin ointment, pill, or moisturizer seems to make any difference, so I decided to look inwards, instead of piling things on outward. Apparently, dairy can be the biggest trigger of eczema outbreaks! You should have seen my face when I read that. Sad Beth. But, if it works, I'm willing to try almost anything. Therefore, the next series of recipes will be mainly dairy-free.

I ventured into the online blogosphere of veganism and some parts of it are scary. "Cheese" sauce made from cashews and yeast? "Milk" from soaked almonds? It was too much. So I started with baby steps, and will taste-test my way through this. I think you'll enjoy my first attempt!


What better place to start with than chocolate? I knew this recipe would be good, as I'd attempted something similar a few years ago as part of the Daring Bakers (I really miss having time for that group!). This was whizzed together quickly with some leftover silken tofu and a stash of incredibly indulgent dark chocolate morsels imported from San Francisco, via mother-in-law. The end result was amazingly rich, incredibly decadent and very very satisfying.

Silken Chocolate Tofu Mousse
Adapted from Food.com

Ingredients:
6 ounces semi-sweet chocolate chips (Generic brands are typically dairy-free, but Nestles and Hersheys are not, so read the labels!)
1 (10 ounce) package firm silken tofu                                                          
1 -2 tablespoon brown sugar or 1 -2 tablespoon honey or 1 -2 tablespoon brown rice syrup, to taste   (I used a splash of vanilla instead)
1 dash nutmeg (I omitted)
1 banana, thinly sliced (optional)

Instructions:
Melt the chocolate chips in a small saucepan or double boiler with a tablespoon of water over medium heat. Or, if you're lazy like me, melt them in a heatproof bowl in the microwave, in 45-second spurts, stirring after each round.

Transfer the melted chocolate to the container of a food processor fitted with a steel blade. Add the tofu and process until smooth. Add the brown sugar, honey, or rice syrup to taste, and sprinkle in the nutmeg. Process again until velvety smooth. Stir in the sliced banana, if desired.

Divide the pudding among 6 dessert cups and chill until needed

March 28, 2012

A One-derful Celebration!

Eli Jonathan turned 1 on December 7th, 2011. It's still hard for me to believe that this:


Became this: 


Now I'm a bit late in posting, so he's currently 15 (almost 16!) months, but just a quick snapshot of our little dude's personality. He loves Daddy, his books, his milk, fruit (esp bananas), and Tizzy, the dog. He also loves to crawl around, playing hide-and-seek behind things, like the coffee table, and currently, putting objects into another container is quite fascinating. Eli's vocabulary is growing nearly every day. At 1, he was able to say Daddy, doggie, ball and hi. Today, he can say all that, along with car, Mommy, Tizzy, apple, no, tree, and a few other names of kids from daycare. His little giggles just light up a room, and he's so much fun.

When it came to party planning, I went a little Pinterest crazy. I couldn't help it! There were such cute ideas available and I really wanted to make this special. I wasn't really with it when it came to his bris (it was 8 days post-birth, so I've cut myself some slack) and that was hard for me because I *love* planning parties. I wanted to plan a festive and fun event for everyone!

I went with a monkey theme, to match his nursery, and found adorable invites on Etsy, from LittleBeesGraphics. She was so easy to work with and I was thrilled with the results:
She also made matching cupcake toppers, which I loved! 
My mom helped me make a quick Pinterest DIY Table Runner. It was very easy and super cute!

Instead of a cake, I made my favorite Amy Sedaris Vanilla cupcakes, topped with a choice of Vanilla Swiss Meringue Buttercream or Quick Fudge Frosting. I also made a Baked Pesto Brie, Royal Icing Sugar Cookies and Chocolate Pretzels with colored sprinkles. Brie and pretzel recipes are listed below!
We had a wonderful afternoon, celebrating with family and friends. Eli enjoyed his first taste of cake and frosting...almost as much as he enjoyed smearing it around into his hair!


Ingredients:
1 round of brie
1 jar of pre-made pesto
(can also make this with dried cranberries and walnuts instead of pesto!)

Instructions:
Pre-heat the oven to 350.

Slice the brie round open, like an Oreo, and spread the pesto inside. Close it back up and bake in an ovensafe dish for about 20-ish minutes...until the cheese is melty and delicious. Serve with a knife, crackers, carrots, or small pieces of bread. Enjoy!


Chocolate Dipped Pretzel Rods
Ingredients:
Pretzel rods
Baking chocolate squares (I find that these melt better than chips)
Colored sprinkles
Wax paper

Instructions:
Using a microwave safe bowl, melt your chocolate in 30-second intervals, stirring after each round. When the chocolate is fully melted, pour it into a deep drinking glass.

Dip each pretzel and lay it on the wax paper. Cover with sprinkles while it's still wet. Allow them to dry and then store, covered, until needed.